Showing posts with label recipe. Show all posts

Tuesday, 2 September 2014

Recipe: Autumn Lasagne

Happy September everyone! As I mentioned in a recent post, I've been feeling increasingly autumnal over the past week, I'm really enjoying the cooling weather and pulling clothes out that I haven't worn in months.
On Saturday, Arjan's parent's were both out at a party so it was down to me to come up with dinner for the two of us and what is the first thing you think of when it comes to Autumn food? Pumpkin!
I'd come across this brilliant Autumn Lasagne by The Cozy Apron on Pinterest, combining a pumpkin and garlic sauce, turkey, spinach and sage, and I knew I had to give it a go some time, so this was the perfect opportunity.
I won't write out the full recipe etc here (just follow the link) because I made no changes or alterations (apart from using chicken instead of turkey as I couldn't get it anywhere) and don't really have anything to add at all, it was fantastic!

Beautiful, fat, little pumpkin

Fried chicken mince with sage and italian herbs

Tender, squishy pumpkin after a good roasting 
So much garlic in the sauce, but it becomes wonderfully sweet after being roasted

Look at that lovely, bubbly, cheesy crust

Perfection
This was honestly one of the best lasagnes I've ever made, it was gooey, rich, savory-sweet, chewy with mozzarella and the whole thing was cut through with that strong, metallic spinach. Arjan and I both ate until we could barely move.
I will definitely be making this again in the near future and in the mean time I've got a whole host of autumnal recipes to try out.
Have a look at my recipes board on Pinterest if you need some ideas for seasonal meals.


Thursday, 19 June 2014

Recipe: Cherry Wine

On Sunday I called home for a Father's day chat with Daddy Macleod and after telling him all about my cherry haul from the previous day he suggested making cherry wine. It wasn't something I'd considered until then, but after a quick bit of researching I realised it wasn't as hard as I'd first thought. Arjan was 100% behind this idea, so we went on the hunt for suitable containers and wine yeast.
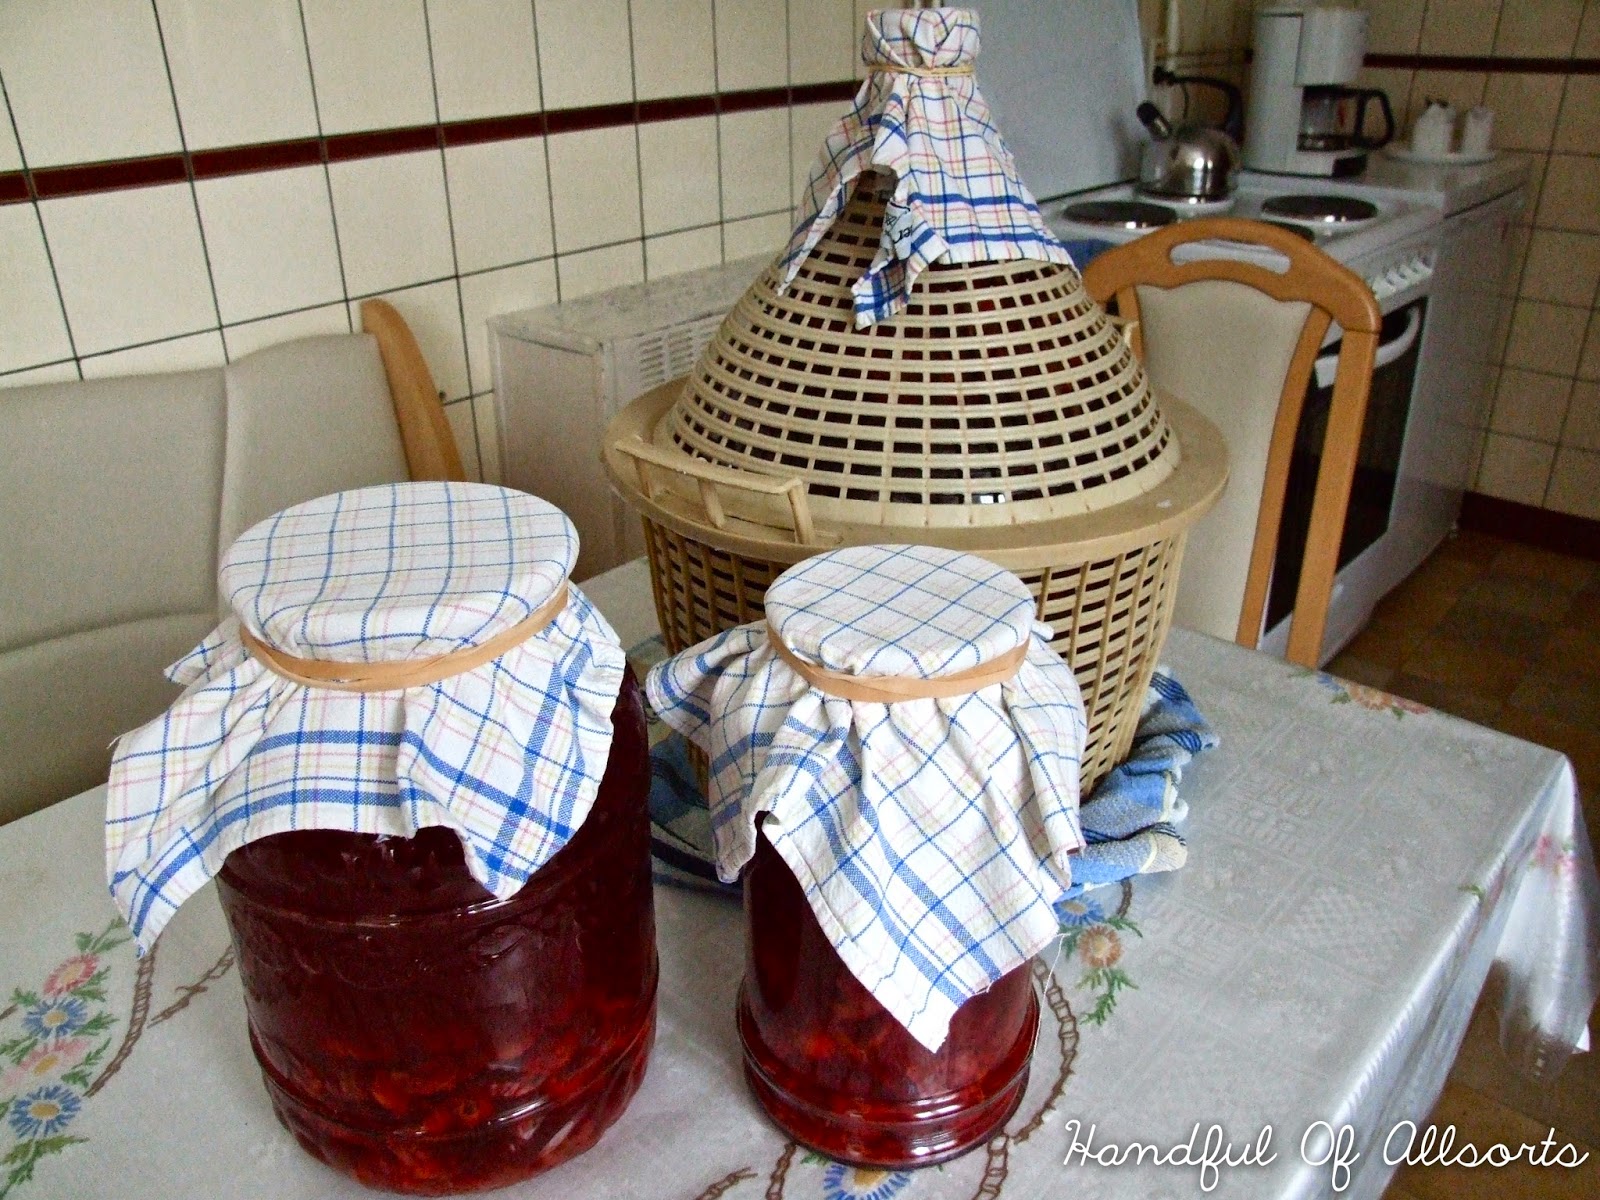
The containers were easy enough, first we found 2 big glass jars, one 2.5L and one 5L, and then we were able to borrow an actual 15L fermenting bottle from a friend's dad.

Then came the hunt for yeast. After extensive research into the subject we realised that it definitely could not be just any old yeast, baking yeast, beer yeast and wine yeast are all distinctly different and are selected and bred for their specific qualities. So we began a wild goose chase from shop to shop, each person answering with a "sorry no, but you might find it in this place", until finally we were given a phone number and a name that led us to a tiny shop in a nearby village. The owner was exactly what I'd imagined, a friendly older man with rough hands and a walrus moustache. The shop was tiny and a little chaotic but felt homely and loved, this was clearly the fruits of a lifelong passion. He'd opened for the afternoon especially for us and then took the time to talk us through exactly what we should do and things to look out for, he even told us to call if we had any questions. We left with two packets of yeast and we will definitely be going back sometime, even if just to say thank you. 

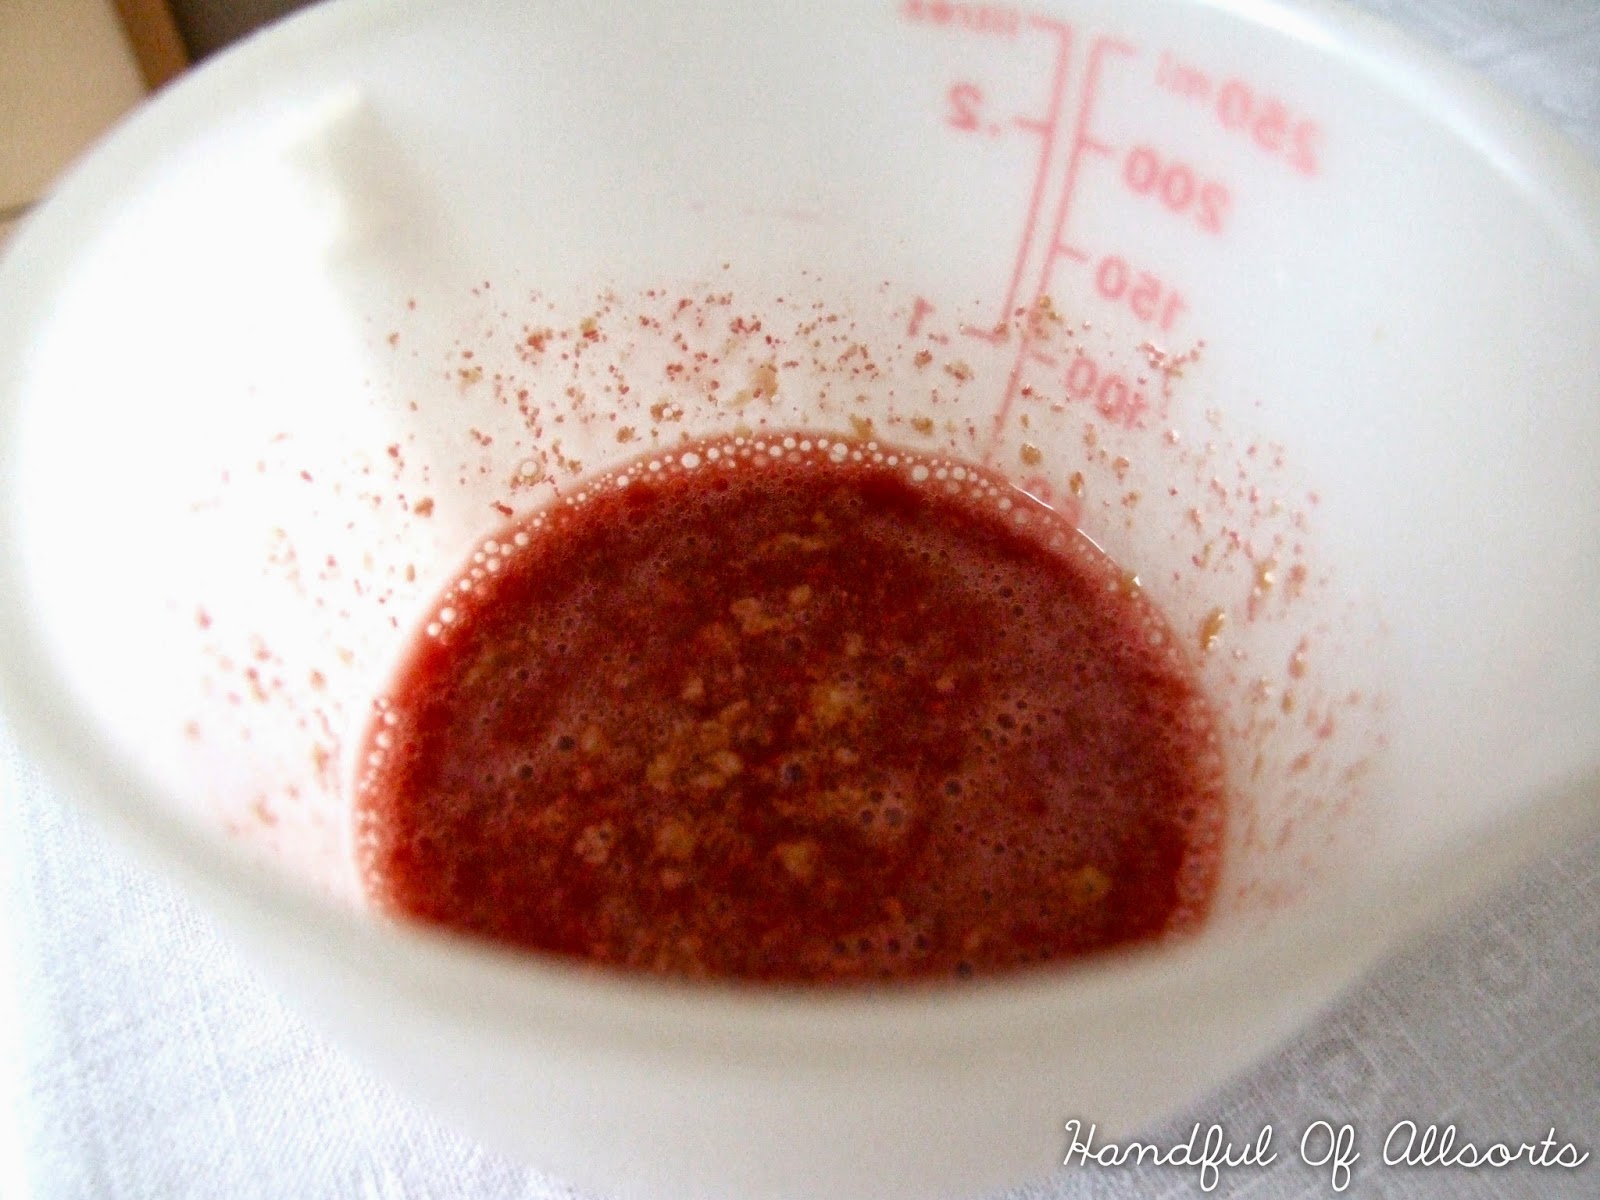
The next step was to choose a recipe, so many people had different methods that it was hard to choose one. We went with the simplest and easiest to follow which we found here but we also added a step which was a tip we were given by the lovely shop-keeper, to mix a bit of the juice from the mashed cherries, a spoonful of sugar and the yeast in a small tub so that it activates the yeast, then to add this to the cooled cherry-sugar-water mix. 

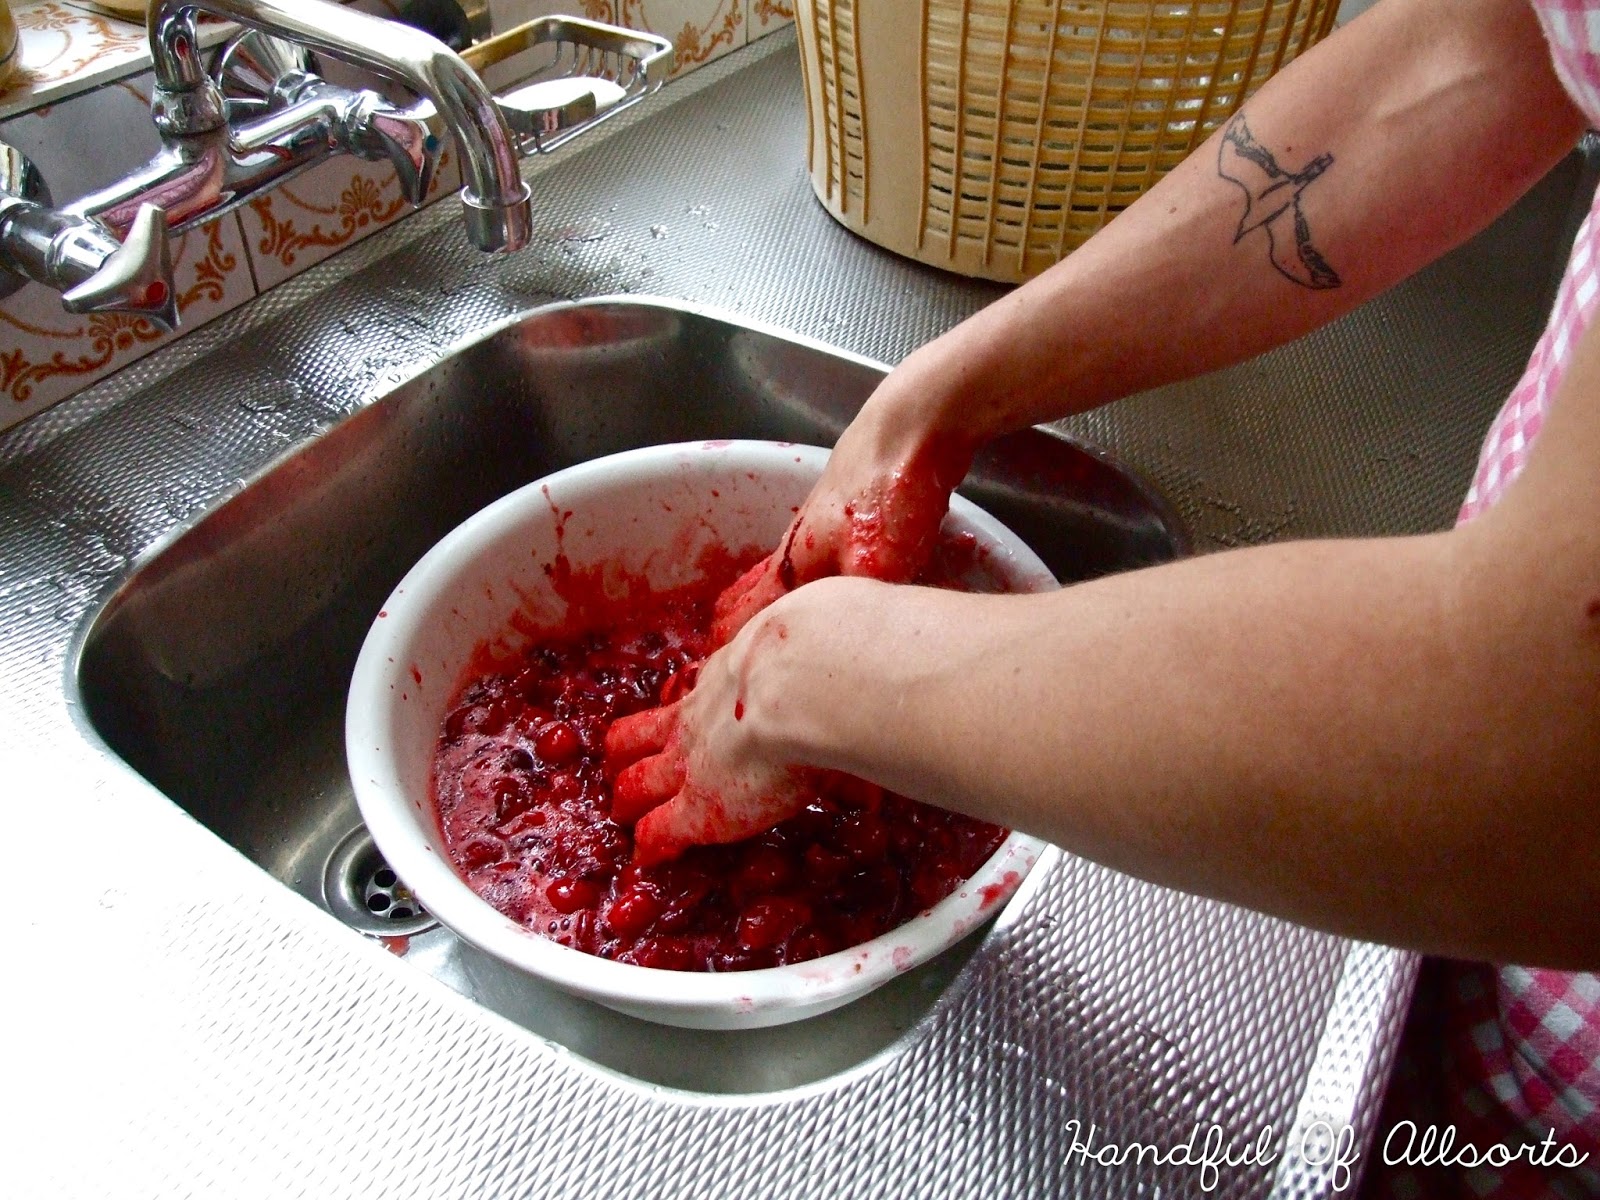
Arjan getting messy 

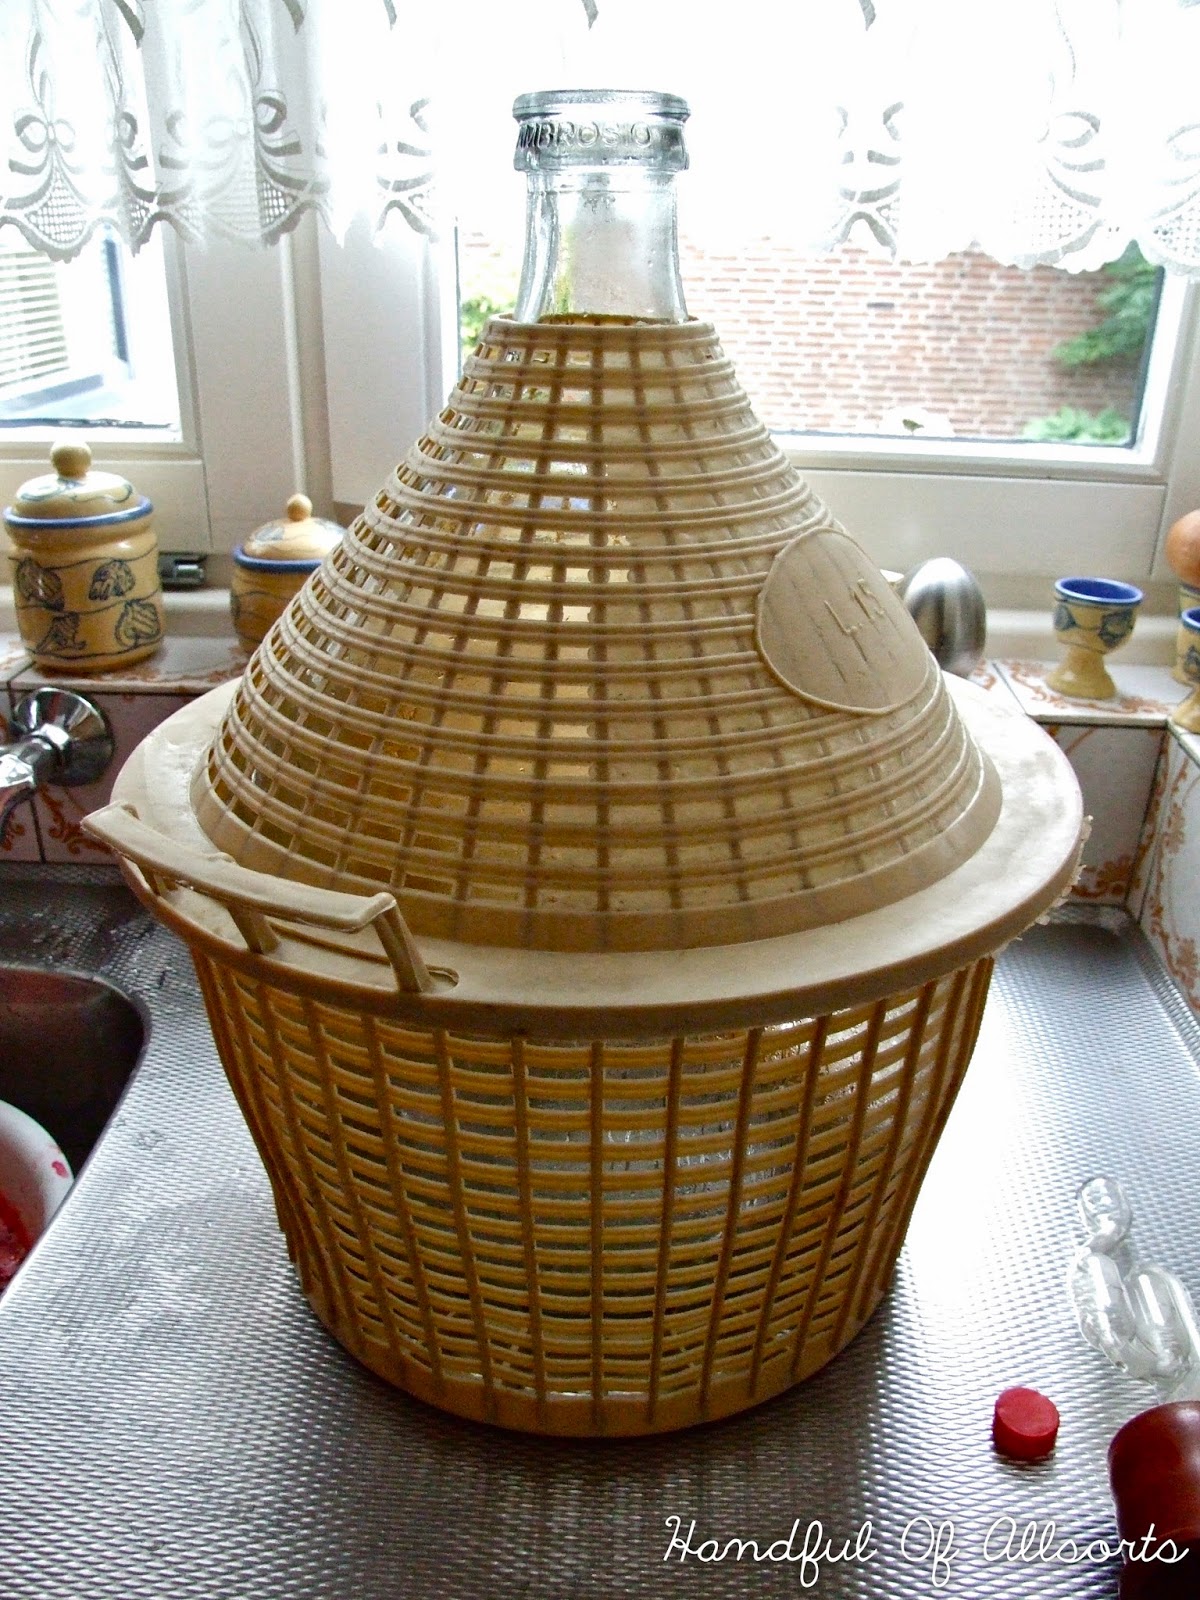
The awesome 15L fermenting bottle we borrowed, complete with airlock.

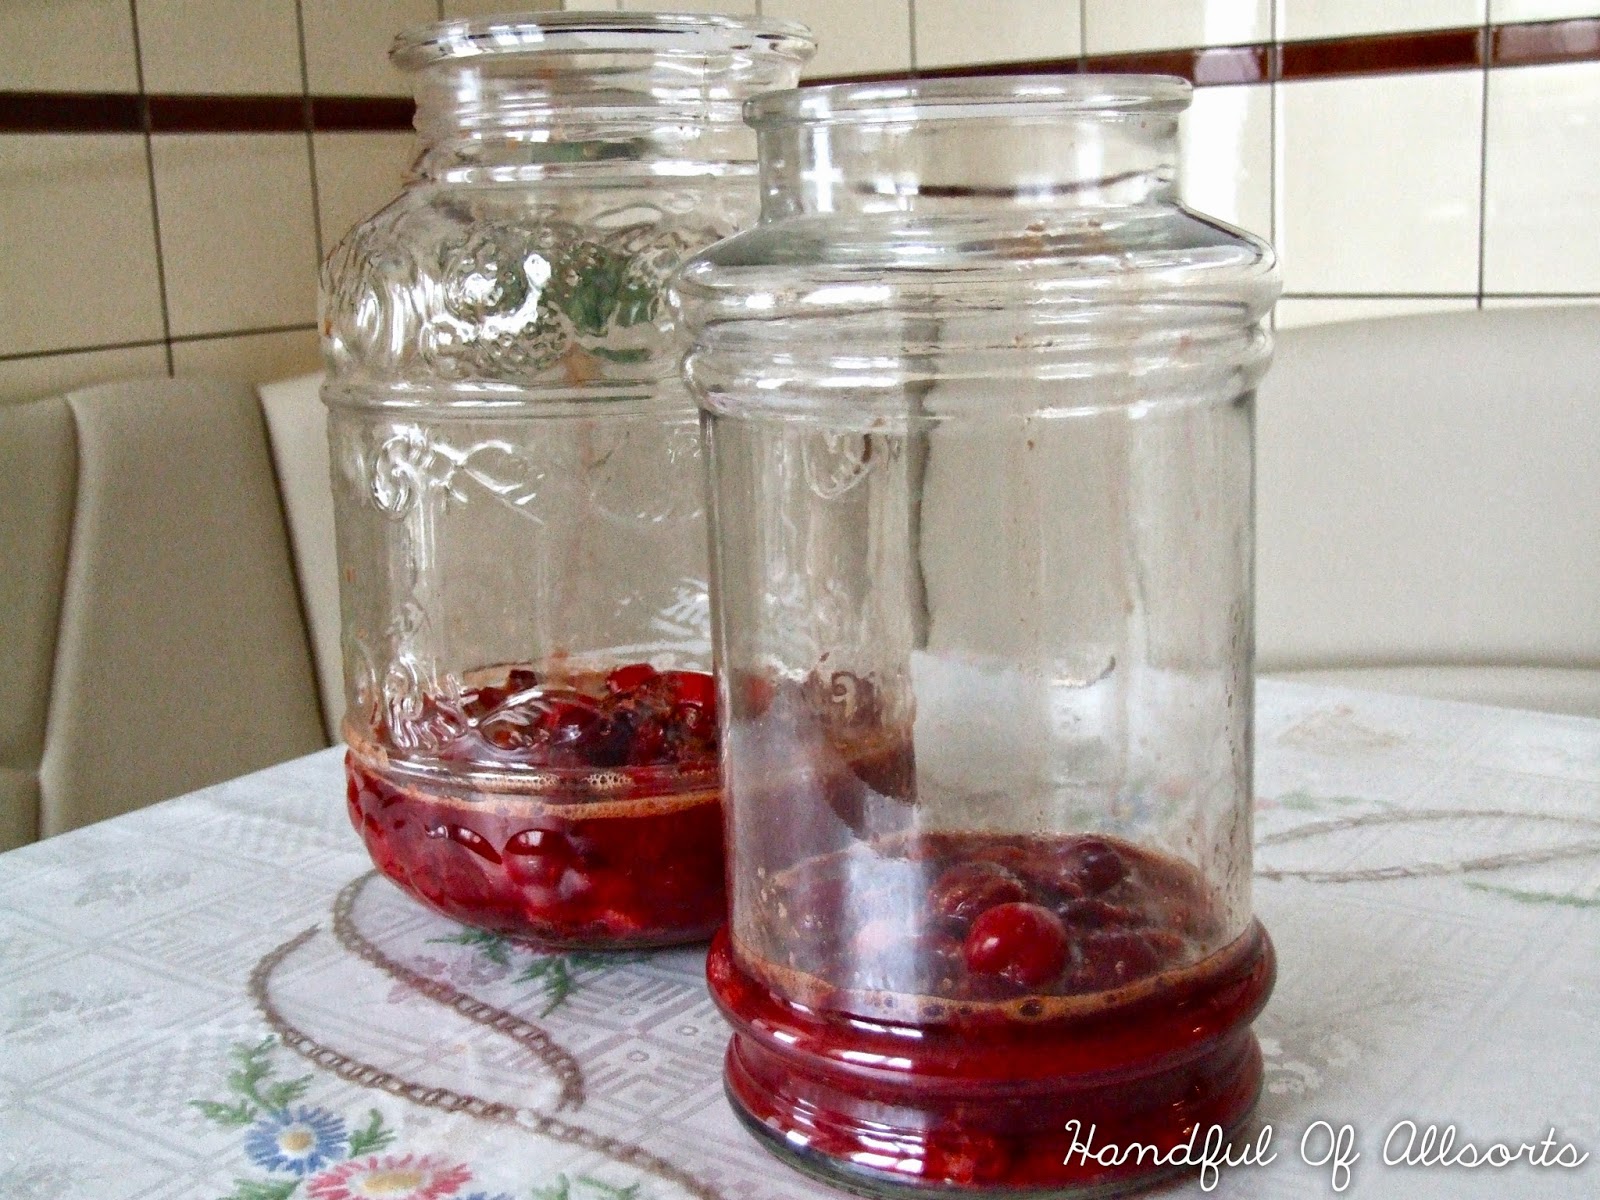
Mashed cherries in their jars 

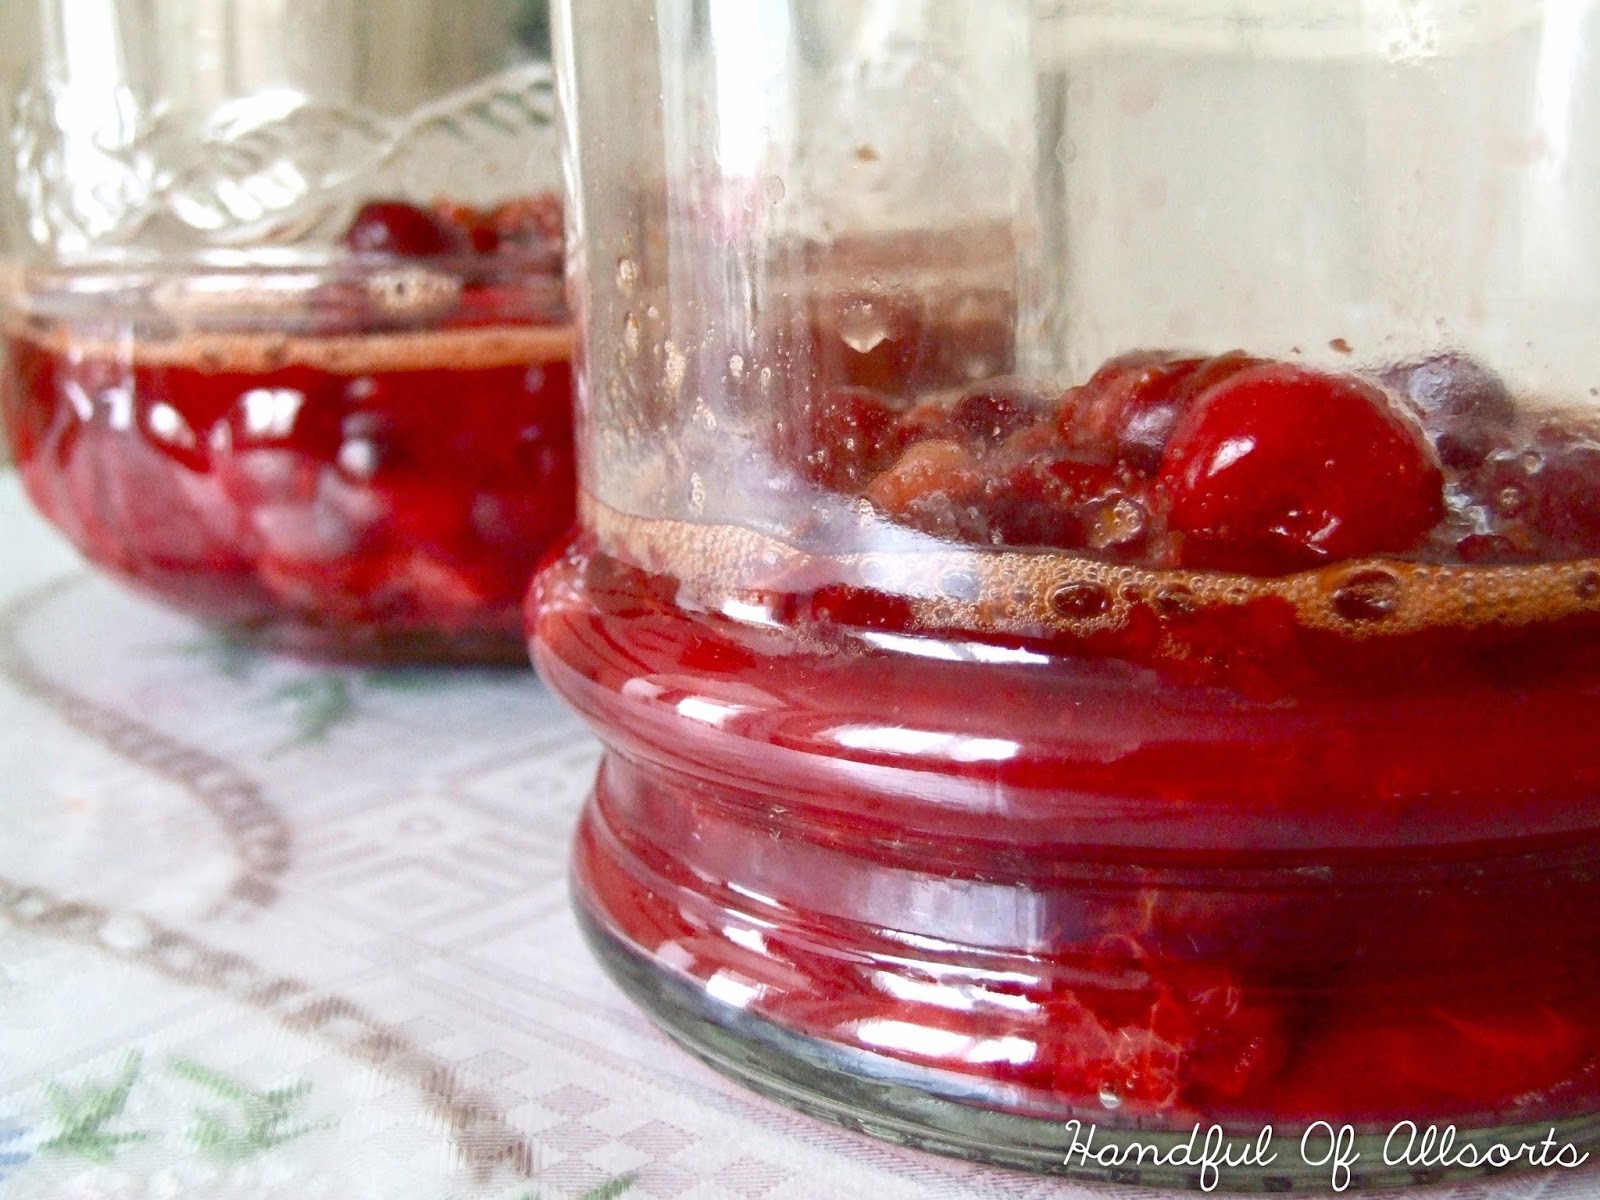
They were so juicy! 

The yeast starter, this foamed up hugely a short while later

Boiling the sugar water
All mixed up and ready to go!

Their final resting place in Oma's basement, this was an old ice chest I think.

We now have to wait an excruciating few weeks before filtering and bottling and after that, more waiting! We're keeping everything crossed that they come out well and we don't end up with litres of cherry vinegar on our hands, to find out you'll have to check back in a month.

For now this is the last of the cherry posts, we basically cleaned out Oma's tree today but since selling them we've had people putting in orders! So tomorrow we're moving on to a friend's trees to see what we can muster. Depending on the amount and quality of the haul, you may see some more cherry related goodies in the near future.

Monday, 16 June 2014

Recipe: Cherry Jam

It is cherry season! The branches of trees all throughout the village are sagging under the weight of their luscious, ruby fruits and kilo bags can be bought from at least one house on every street.
On saturday we spent the whole afternoon helping friends with re-landscaping their garden and I was lucky enough to get an hour or two away from the heavy labour to go cherry picking in their meadow. They have 3 big trees, all of which were absolutely covered! I was handed a 10L bucket and told not to come back until it was full and that I did.
I spent that evening coming up with a few cherry recipes that I was confident would use up most of the haul.
Today, we were doing yard work for Arjan's Oma and among our tasks? You guessed it. Cherry picking!
We filled another couple of tubs, one with dark sour cherries and another with a similar/same variety as those from Saturday. The sour cherries were so ripe that a few burst like water bombs when they were dropped in the tub.

Cherries on cherries on cherries!

Beautiful, dark, glossy sour cherries

Cheerful, ruby-red sweet cherries
 Determined not to waste any of these delicious morsels, Arjan and I dashed to the shop to grab some ingredients then headed straight back to Oma's to get cracking.
First on the list: Cherry Jam!

Having made strawberry jam a couple of months ago and been incredibly impressed with the results, I was excited to try this with the tart, juicy sour cherries. But first came the hard part, if only I'd known what a torturous job cherry pitting was....

This was a little less than half way through and already the stickiness was unbearable. 


We sterilised some jars by simmering them in a large pan of water for a while. We actually only needed 3 of these 440ml jars, the recipe said 4-5 400ml, so I would suggest you should expect to be at the lower end and be pleasantly surprised if you exceed that.


After macerating the kilo of  pitted cherries with 500g of pectin sugar, I brought it to the boil then simmered it for a little over 5 minutes (the recipe states 5 but these were especially juicy cherries so I wanted to get rid of a little more of the water. This bubbling pot of jammy goodness was the result.


I left it to cool slightly for 15 minutes before filling the jars. As I type said jars are sitting on the windowsill, lids slightly ajar, cooling completely. The urge to dive in is almost overwhelming, but I'm being good. I did sneak a taste when I was cleaning up afterwards and oh boy, I am looking forward to breakfast tomorrow! The jam is sweet, but not overly and has a wonderfully tart aftertaste that lifts the whole thing to a new level. With nothing but sugar and fruit, I can guarantee you that this will be the purest, freshest and fruitiest cherry jam you will ever have, so go on, try it!

Tomorrow we're back in the kitchen for more cherry madness, hint: one of the recipes is for adults only...

Thursday, 5 June 2014

Recipe: Gnocchi

I love gnocchi! I haven't always though, I really did not enjoy the texture of them as a child, but then all I had to try was store bought, ready made ones. It wasn't until a holiday to Italy years ago, that I really began to appreciate them.

I've always heard people say how easy they are to make and thought this must be absolute rubbish, fabulous cooks making fabulous food and just playing up the whole "anyone can do it" nonsense. But when cravings occur they must be sated.
One evening, Arjan and I found ourselves both having an intense desire for gnocchi and upon discovering that we had all the necessary ingredients to hand, I decided to bite the bullet and give it a try. Yet again, pinterest was to thank for this recipe and by golly am I glad I found it.

I used this recipe for truffled gnocchi with mushroom ragu from Simply Delicious.


These gnocchi were light and soft and fluffy and delicious! I wasn't the biggest fan of the sauce, but Arjan loved it, so I think that's just personal taste. The gnocchi were what counted for us at that time and they really delivered. I doubled the quantities for this recipe (just for the gnocchi, not the sauce) and we had half then and put the rest in a bag in the freezer.


Another way we love to have gnocchi is fried. This might sound unusual, but don't gnoc it till you've tried it (eh, eh?!). We first did this a couple of years ago as poor students wanting something cheap, quick and delicious, it's starting to catch on a bit now and can be found online more readily.
The fried gnocchi become like little roast potatoes, getting a golden, crispy crust and a soft, slightly chewy centre. They are fantastic on their own as a slightly indulgent lunch or snack, or as an accompaniment for a main meal.
Ours were still frozen when we remembered they were there decided to use them and I did see people online saying best not to fry them from frozen due to spitting fat and whatnot, but I threw caution to the wind and went for it. Adding plenty of butter, I fried them over a low heat at first, covered with a lid to help them warm through, then I turned up the gas to high in the final few minutes to get them nice and crisp. Overall they took maybe 10-15 minutes from frozen (obviously much quicker from fresh) and make sure to keep them moving so you don't end up with one side burnt and the other mushy!

Give it a try and amaze friends and family with your incredible cooking prowess!

Saturday, 31 May 2014

Recipe: Apple Brownies

Last week Arjan and I were feeling pretty guilty about the amount of junk food we've been eating recently (an unfortunate side affect of having plenty of gigs!) and I had a horrible cold over the weekend, so we decided to do something about it.
My juicer was dug out along with the Keeping It Simple Recipe Book and we went and bought the ingredients for a three day juice cleanse. The less said about that, the better..... but we did it with some success and feel better for it, but now we have a surplus of apples.
This is the reason that yesterday evening I found myself perusing the internet for apple dessert recipes. During my search I stumbled upon this recipe for apple brownies and was instantly intrigued.

image from http://www.cannellavita.com/2012/09/apple-brownies.html 

Obviously everybody knows and probably loves the standard, gooey, chocolate brownie and many have at least heard of (if not tried) a blondie, there are also a million variations on the chocolate brownie with various nuts and/or fruits thrown in, but I had never come across a completely non-chocolatey, fruit-based brownie recipe.

Unfortunately the only suitably sized pan around was a little bit large, which meant that the brownies were a little thin and very cakey (not gooey enough for my liking) but they were incredibly more-ish nonetheless and the pan was practically scraped clean by the end of the evening (note: it was not just the two of us eating them!)
They were so popular that I had to make a second round this evening, that and there are still a lot of apples left.
This time I used the same pan but doubled the recipe to fill it better. These brownies are very cakey, but delicious once again and I highly suggest that you try them out!

Sunday, 27 April 2014

Recipe: Chicken and Spring Vegetable Stew

On Friday evening my band played a local festival called Mosterpop, before that we had dinner and a rehearsal. Because I was feeding 5 hungry guys (and myself) I needed something that was minimal fuss and would keep them going through the evening. I tend to lean towards one pot meals when larger amounts are needed, spaghetti bolognese, chowders, couscous tajines etc but I didn't want something too heavy or rich as the weather was pretty warm. Having decided that, I went with a stew.
Now I know what you're thinking, stew? not heavy and rich?! yeah right! Which is true I suppose, but it's all in the ingredients!
I wanted to make the most of all the wonderful fresh ingredients that are in season right now, so I went with chicken and spring vegetables and then chose to pop a cheeky herby dumpling in there too.

This recipe was just created along the way, so I will try to translate a pinch of this and a handful of that into something that makes a little more sense. I did use a recipe for the dumplings though, which you can find here (this also gave me a couple of ideas for veg to use). I'm afraid I don't have any pictures for this, but Remco (our keys player) requested I make a blog entry of the recipe.

Chicken and Spring Vegetable Stew: serves 6 large portions

750g chicken thigh fillets
4 - 6 shallots (depending on size)
300g new potatoes
300g spring carrots
2 large sticks celery
200g asparagus
200g peas
2l chicken stock
1/2 bottle white wine
3 tbsp flour
50g butter
100ml double cream
4 cloves garlic
small bunch parsley
small bunch thyme
sprig rosemary
salt
pepper


  1. Chop the shallots however you like. I diced a couple finely then sliced the rest into rings just to give maximum flavour release and a little texture.
  2. Heat the butter in a large pan (preferably a big cast iron casserole dish) and over a very low heat soften the shallots. If you salt the shallots and add a good splash of water to the pan and put the lid on this will help them to steam and soften rather than colouring, it also gives you time to get on with the next step. 
  3. Remove any excess fat off the chicken (and skin if your's still has it on) and chop into bite size pieces (or slightly larger as it will break up while stewing). I would definitely recommend getting thigh for this as it's a much better flavour and texture for stews and sauces.
  4. Heat a frying pan, add a little butter or oil of your choice and quickly brown the chicken to seal the surface over a medium high heat. 
  5. Once the shallots have softened, add the garlic cloves, roughly chopped, and stir through quickly before adding the browned chicken. Mix it all together and add in the flour, coat everything well and cook briefly. The flour will help to thicken the sauce a little.
  6. Now add the wine and mix well, there should be no lumps of flour if you stirred it through the chicken and shallots well. Once this is simmering, add in the chicken stock (you may need to adjust the quantities depending on your pan size, it needs to be enough to cook the carrots and potatoes in (add more if needed after the next step until everything is covered with sauce). At this point, if there are any cooked on bits in the chicken frying pan add a splash of wine and deglaze it, add this to the stew for extra flavour. 
  7. Half the new potatoes (quarter any larger ones) and add to the stew. I didn't bother peeling mine, it's not necessary with little baby potatoes.
  8. Remove the stringy root ends and tops of the carrots then chop into good chunks, add to the stew. Again, no peeling needed.
  9. Half the celery sticks lengthwise and thinly slice them, add to the stew. This is just a personal preference, I don't like the texture of cooked celery or having stringy fibres throughout the food. 
  10. Roughly chop the herbs and add them to the sauce.
  11. Bring the stew to a low boil then turn it down to a very low heat until it's barely simmering. This can now cook for a couple of hours with an occasional stir. I started mine in the morning, cooked it for a while, took it off the heat then came back to it just before dinner for the finishing touches. 
  12. About 20 minutes before serving, prepare the asparagus. Remove the tough ends and cut into large chunks diagonally across the stalk. Add to the stew. I'm not sure if it actually makes a difference but cutting this way will help with the cooking as it increases the surface area and will also help with any fibrous bits at the lower ends of the stalks. I was using white asparagus as that was all that's available and the spears are considerably thicker than green asparagus so the cooking time will be shorter if that's what you're using. Just whip a piece out and have a chew if you're in doubt. 
  13. Finally add the peas in the last few minutes, more to heat them through than actually cook them, add the cream and check the sauce for seasoning. If you want the sauce a little thicker you can mix up a couple of teaspoons of cornflour with water and stir this through (Arjan is a big fan of a thick stew rather than slightly brothy, so he insisted on this step). 
I followed the recipe for the dumplings but I doubled it and made 6 big dumplings. I was also worried about space in the stew pan, so I made a little extra stock, heated it in a frying pan and made the dumplings in that. I added them at the same time as the asparagus and after 10 minutes, put the pan under the grill just to give them a little colour and texture on top. They went beautifully with the stew and though a little mushy on the outside were a great texture inside!

This really was a brilliant meal and although it was bordering on a little heavy for such warm weather, the vegetables and herbs gave it a wonderfully fresh flavour that wasn't stodgy in the slightest.

I hope you can give this a try whilst all the fresh vegetables are around and before the summer really takes off, enjoy!


Friday, 4 April 2014

Recipe: Scotch Eggs

A good few years ago my family got 6 chickens, just as fun pets for the garden and to have some fresh eggs. Little did we know, they are pretty addictive animals to keep and nowadays their numbers fluctuate between 20 - 30! 
Over the winter we were lucky if we got an egg a day (out of all of them combined) but now that it's spring they are shaking off the dust and revving their engines and producing 9 or 10 eggs most days. It might not sound that many for the number of chickens we have (currently 23 I think) but boy does it add up over the week. 
We are overrun with eggs and are running out of places to put them! I'm trying to come up with as many egg based recipes as I can and we're even giving some away to the neighbours just to get through them and make room for the next lot. For instance: breakfast = omelette, lunch = scotch egg, dinner = egg fried rice…

I'd wanted to try making scotch eggs for a while and I figured this was the perfect time to give it a whirl. This recipe was another of Jamie Oliver's.

Scotch eggs: Makes 8

10 eggs, 2 beaten
800g pork mince or sausage meat
salt 
pepper
seasonings such as:
mustard
chives
parsley
nutmeg
plain flour
bread crumbs
2l vegetable oil

First things first, start with some eggs! These were eggs from our bantam hens, so they are about 2/3 the size of a standard medium egg. I boiled these till they were medium hard, just a little creamy in the centre of the yolk still, and then I cooled them down under cold water to stop the cooking and got peeling. Very fresh eggs are notoriously hard to peel as the whites don't become as rubbery when cooked (notice how a few have chunks out of the outer layers).


I used plain pork mince and added my own seasonings. I also added a few stale breadcrumbs and a small egg just to improve the texture, this wouldn't be necessary with ready made sausage meat. I would suggest you cook a tiny bit of the mince at this point and taste it for seasoning so you can adjust it, my first lot of eggs were a little under seasoned so I had to add more salt for the last few. 


Put your flour, beaten egg and breadcrumbs in bowls.


Take a chunk of mince and flatten it out in the palm of your hand.


Dust a peeled egg in flour then place in the middle of the mince patty. Carefully bring the meat up around the sides of the egg until you can close it together, completely encasing it.


I got this step done all at once because it is surprisingly clean compared to the rest of the process.


Now prepare yourself to make the biggest mess of your kitchen! Coat the balls in flour and shake off the excess, coat in the egg, then roll in the breadcrumbs. For an extra crunchy coating follow this with a second coating of egg and breadcrumbs. I strongly suggest using one hand for flour and breadcrumbs and the other for the egg or you'll end up with a big, sticky, clumpy mitten of goo.  


(I don't have pictures of the egg and breadcrumb steps because my hands were pretty messy and Arjan kept getting distracted)

Then came the deep-frying, which only took a few minutes because the meat 'shell' is fairly thin and the heat keeps it cooking even after it's been removed from oil.


I let them cool before we tried them (well mostly, but we were a bit too hungry to wait) and I must admit, they were beautiful when they were still a little warm. Crispy crusts, juicy meat and slightly gooey eggs, they were perfect with a dollop of mayonnaise or wholegrain mustard, and just incase you were wondering, they are still delicious a day later after a night in the fridge.


These were superbly delicious and incredibly simple to make, more of an assembly task than proper cooking! I would definitely recommend trying these out if you get the chance (or simply need an excuse to use up some eggs).

Wednesday, 2 April 2014

Recipe: Strawberry Jam

I'm back in York for the next couple of weeks, looking after the house whilst my parents are away. So now that I have free reign of the kitchen I wanted to try out a few new recipes that I've discovered recently. 
One of those recipes was strawberry jam, a classic favourite of many and as Jamie Oliver revealed, deceptively easy! 

Into the kitchen I went, grabbing a pan, an empty jar and my 3 ingredients (yes, just three!). 
I will save you the suspense, it is the best strawberry jam I have ever eaten and so simple.

Strawberry Jam: makes 4 - 5 400ml jars

1 vanilla pod (I didn't have any so substituted a dash of vanilla essence)
1 kg strawberries 
500g jam sugar

  • Before starting you need to sterilize the jars. This can be done by submerging in boiled water in the sink, heating in the oven or using a hot cycle dishwasher. 
  • Take the tops off the strawberries and place in a pan.
  • Halve the vanilla pod and scrape out the seeds, add to the strawberries. (If using essence instead, add this to the strawberries now) 
  • Add the sugar to the strawberries, using a potato masher roughly mash the strawberries to a pulp, leaving some larger chunks for a better final texture. 
  • Over a medium heat, bring the pan to the boil then simmer for 5 minutes.
  • Turn off the heat and skim off any foam from the surface. Leave to cool for about 15 minutes.
  • Divide the jam between the jars and leave to cool completely before putting on the lids. Place the jars in the fridge. 
This was the perfect breakfast on a toasted, buttered crumpet with a hot cuppa! 


The texture is beautiful, slightly runny with big juicy chunks of strawberry.

I never thought making jam could be so simple, I'd only ever heard scary things about jam thermometers and that was enough to put me off.
This is a brilliant recipe and I am now desperate to try it out with a variety of other fruits! I hope this has inspired a few of you to get in the kitchen and start jammin'!

Friday, 7 March 2014

British Pie Week: Mince and Onion Pie In Pictures

For those of you who are unaware, this week has been British Pie Week! An event founded by Jus-Rol that celebrates pies in all their delicious, British glory.
Meat filled pies have long been a staple of British cuisine and are still a family favourite up and down the country, but as with all things, the people were always looking for a quicker way of getting one on the table. That's where Jus-Rol came in. They started in 1954, selling 'just-roll' puff pastry to customers, omitting the time-consuming job of having to make your own.
Living in The Netherlands is fun but I do get a touch homesick sometimes, one of the best things that helps me with that is rustling up some good hearty food that tastes like home. When I read about Pie Week online I got the biggest craving and knew I had to make a good, old-fashioned mince and onion pie for dinner. So I did!

I used these recipes for basic guidance (with the filling and pastry respectively), but when I'm comfortable enough with a recipe I tend to tinker with it as I go so you'll notice some differences along the way.

I began with the pastry as that could chill in the fridge while I was getting everything else done.


For this part I followed this recipe, I didn't want to risk ruining the pie with a bad crust. I made shortcrust as I feel it fits best with a meat pie.


I weighed out the ingredients, rubbed the butter into the flour, brought it together with a splash of water, then wrapped it in cling film and popped it in the fridge. At this point I will say that this was only just enough pastry to cover the top of my pie dish, I did use a fairly large one but only made a top crust, so if in doubt, double it! 


With that out of the way, I moved on to the filling. This part's my favourite as you can play around and essentially do whatever you fancy! I always like to use onion, carrot and celery (the holy trinity of veg) when making any kind of meaty sauce or stock, they give the perfect savoury base for anything. We were sadly out of big onions so I had to make do with a handful of baby onions, which were a bugger to peel and chop. I also added a clove of garlic to this as an afterthought. 


I started by finely dicing the veg then sweating them gently in a pan on a low heat. If you salt them at this point it helps the water come out of the veg and prevents caramelization. If you cover them with a lid and stir every now and then it will also keep more moisture in. I would normally have used more veg than this but this was all the celery that was left and I got fed up of the onions. 


This is what they looked like after about 10 minutes, at which point I thought they were good enough.


I then put in the minced garlic, followed by the meat, which I worked to a fine crumb and browned. I then added a couple of teaspoons of flour, worked it through the meat until there was none visible and then put in a generous teaspoon of tomato paste. Then in went a splash of beer (just a pilsner that I was drinking at the time) and 500ml of beef stock. Whilst my meat was browning I had chopped up some mushrooms and potatoes in small cubes, these went in and the whole thing simmered away happily for 20 minutes to give the potatoes time to cook. Whilst this simmers, taste it for seasoning. I added a generous amount of pepper and a tiny pinch of cayenne (a trick borrowed from Chef John of Food Wishes). 


When it was all good to go and the oven was preheated to 200 celsius, I got out my pastry and rolled it out slightly larger than the dish (with a little difficulty).  This was the point that I wished I had made more pastry, I enjoy a slightly thicker crust that is crisp and flaky on top, soft and gravy soaked underneath, and whilst this was still tasty it was a little thin. 


I then stirred my peas through the filling, allowing them to stay fresher and not get overcooked, and put the whole lot in to the dish.


On with the pastry and a quick wash of egg! Put a couple of holes in the middle of the pie to allow any steam to escape during cooking, otherwise you will get big bubbles and potentially soggy bits. The egg wash is purely for aesthetic reasons I think, it gives a gorgeous, shiny, golden coating.


25 minutes later, Taa daa!


We ate ours with chips (the others had eggs on theirs too!) and it was glorious! In fact I was so caught up in stuffing my face that I forgot to take a picture of it all served up on a plate (hence this picture of the lonely piece that was devoured for seconds shortly after I took it). This fed 5 of us to stuffed-ness, with 3 sharing the last piece for seconds, would have fed 6 with good portions. 

Those of you who are Brits will probably appreciate how good a pie can truly be, they are the ultimate comfort food, and for those of you who are not, give this 'recipe' a go (or come up with your own) and you will soon find out what the fuss is about!

If Mince and Onion is not your thing, how about:
Chicken and Vegetable
Steak and Ale
Homity Pie (potatoes, onion, leek and cheese)
Sausage and Apple